

Windows OpenVPN Manual Setup Guide
While we recommend using our official client for Windows, it is also possible to manually configure your computer to connect to Vector Link servers using any third-party OpenVPN client. In this tutorial, we will outline the process of setting up your connection using the OpenVPN Community Project's OpenVPN-GUI on a Windows.
Download & Install
Go to https://openvpn.net/community-downloads/ and download the version that matches your computer's CPU architecture ("amd64" is the correct choice for most people).

Click the Install button for installation.
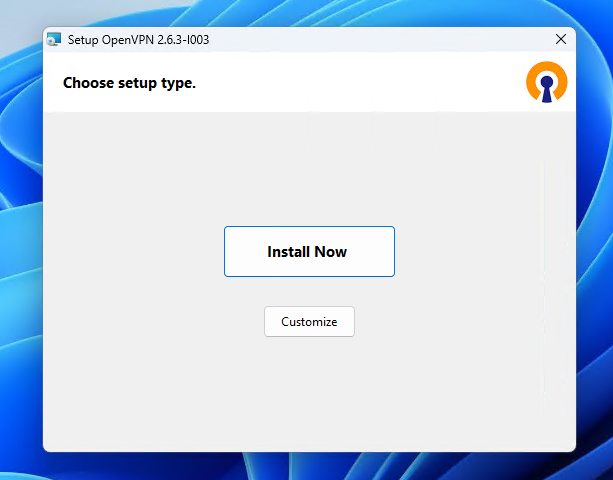
After installation, you should find the OpenVPN tray icon and an OpenVPN GUI desktop icon.
Getting the configurations
Log in to the Vector Link User Panel, in the Devices tab, click the Download Configuration button under the OpenVPN section.
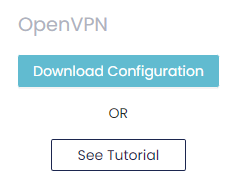
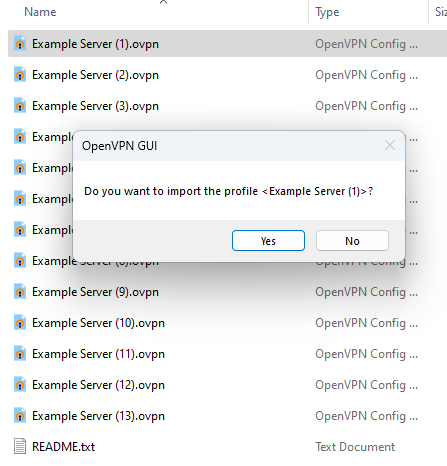
You will download a zip file containing the OpenVPN configuration file for each server. Double-click on a file and a dialog should open from the OpenVPN GUI asking you to confirm if you want to import it. Click Yes.
Connecting
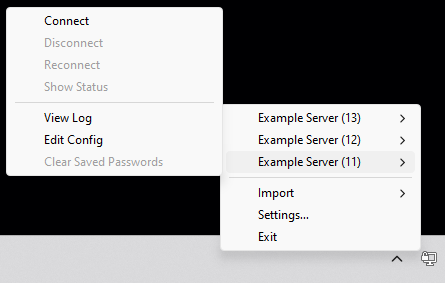
After you have imported all configurations (or just the ones you need), click the OpenVPN tray icon. From the pop-up menu, select the server you want to connect to and click Connect.
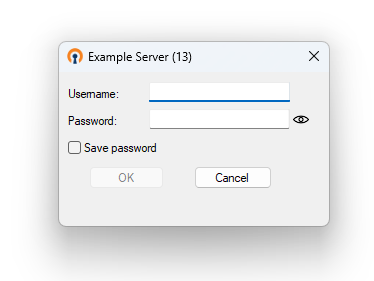
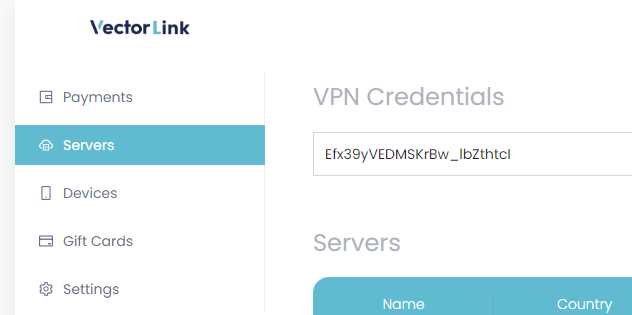
You will be prompted for a username and password. Use your Vector Link username and password from "VPN Credentials" (see screenshot below), NOT your account password.
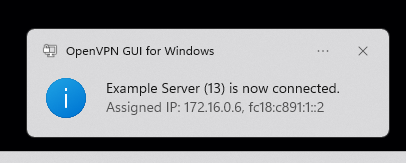
You will then see a notification when the connection has been successfully established.
To disconnect, simply go back to the tray icon and click Disconnect.


